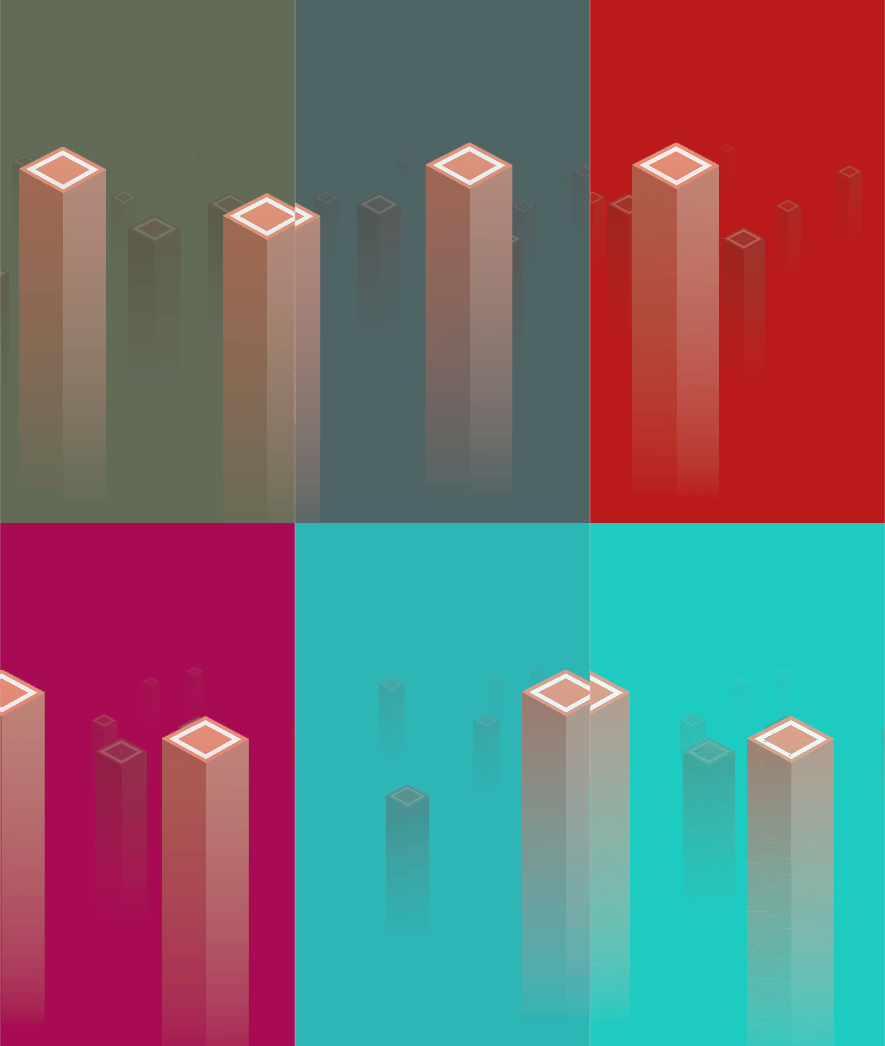
A friend recently introduced me to a simple but fun mobile game named BLUK – mostly because it was quite similar to an unpublished project of mine. As I played for a while, I noticed that it used the visual style of other popular mobile games, that consists mostly of colorful 2D fog, pseudo-3D sprites and parallaxing.
And I thought to myself: “How would I make this kind of aesthetics in Unity?”. I thought about hacky solutions like semi-transparent planes, or a simple gradient shader with adjustable values. But then, I put myself in the role of the developer of a BLUK-like game and I thought: “Would I really want to lose time re-arranging planes or have scripts constantly modifying the shader’s values?”. Just adjusting values the pillars in the background would be a nightmare. Actually it would be just a mild inconvenience, but anything that is not being done automatically is a nightmare for my lazy fingers.
Tl;dr, I made a sprite shader that does two things:
- It adds a gradient of the “sky” color on the bottom of the sprite, making it look like it fades out. The amount of the gradient color depends on the sprite’s distance from the main camera, so if it’s closer, the gradient starts lower.
- The further the sprite is from the camera, the more overlayed from the “sky” color it gets. This makes it look as if it fades in the horizon.
I also made an amazingly simple script to change the “sky” color, as well as another simple script that provides a parallaxing effect.
The result is as follows:

And now let’s move on to the fun part: the free code!
The shader is as follows:
Shader "Custom/2DFogSpriteShader"
 {
     Properties
     {
         [PerRendererData] _MainTex ("Sprite Texture", 2D) = "white" {}
         _SkyColor ("Sky Color", Color) = (1,1,1,1)
         _MaxCamDist("Max Camera distance", float) = 100
         [MaterialToggle] PixelSnap ("Pixel snap", Float) = 0
     }

     SubShader
     {
         Blend SrcAlpha OneMinusSrcAlpha

         Pass
         {
         CGPROGRAM
             #pragma vertex vert
             #pragma fragment frag
             #pragma multi_compile DUMMY PIXELSNAP_ON
             #include "UnityCG.cginc"

             struct appdata_t
             {
                 float4 vertex   : POSITION;
                 float4 color    : COLOR;
                 float2 texcoord : TEXCOORD0;
             };

             struct v2f
             {
                 float4 vertex   : SV_POSITION;
                 fixed4 color    : COLOR;
                 half2 texcoord  : TEXCOORD0;
                 float4 worldPos : TEXCOORD1;
             };

             v2f vert(appdata_t IN)
             {
                 v2f OUT;
                 OUT.vertex = mul(UNITY_MATRIX_MVP, IN.vertex);
                 OUT.texcoord = IN.texcoord;
                 OUT.color = IN.color;
                 OUT.worldPos = mul(unity_ObjectToWorld, IN.vertex);
                 #ifdef PIXELSNAP_ON
                 OUT.vertex = UnityPixelSnap (OUT.vertex);
                 #endif

                 return OUT;
             }

             sampler2D _MainTex;
             fixed4 _SkyColor;
             float _MaxCamDist;

            fixed4 frag(v2f IN) : COLOR
            {
                float dist = distance(IN.worldPos, _WorldSpaceCameraPos);
                half4 texcol = tex2D (_MainTex, IN.texcoord) * IN.color;
                float distFactor = saturate(dist/_MaxCamDist);
                half4 intercol = lerp(texcol, _SkyColor, distFactor);
                float gradientFactor = distFactor / 3;
                half4 finalCol = lerp(_SkyColor, intercol, (IN.texcoord.y - gradientFactor)/ (1 - gradientFactor)) * step(gradientFactor, IN.texcoord.y);
                if (IN.texcoord.y < gradientFactor) finalCol = _SkyColor;
                finalCol.a = texcol.a;
                return finalCol;
            }
         ENDCG
         }
     }
     Fallback "Sprites/Default"
 }
I certainly can’t say I’m a shader expert (yet), and while this shader was hacked together by dissecting other shaders I have found/wrote, I can give a small explanation of how it works. I won’t go into too much detail, as this post is not centered around shaders in particular.
The whole concept is just to take the distance of the object from the main camera and to do some lerping functions based on that. The first lerp is to apply the sky color overlay while the second lerp is to apply to gradient on the bottom.
EDIT: With more complex sprites the shader caused some artifacts because it added gradient over the transparency. The fix was to apply the alpha channel of the original sprite to the final color. This, in turn, caused the appearance of black bars on the bottom of the image, hence the if statement with the sky color in line 64.
The script to change the color of the sky is ridiculously simple but I shall include it for the sake of completeness:
public class SkyColorManager : MonoBehaviour {

    public Color skyColor;
    public Material fogMat;

    void Update () {
        Camera.main.backgroundColor = skyColor;
        fogMat.SetColor("_SkyColor", skyColor);
    }
}
Nothing too weird about that. Just drag and drop the material and select a color.
Finally, the parallaxing script is as follows:
public class ParallaxingScript : MonoBehaviour {

    private Vector3 prevPos;

    void Start() {
        prevPos = transform.position;
    }

    void Update () {
        Vector3 curPos = transform.position;
        if (curPos != prevPos) {
            foreach(Transform t in transform) {
                t.Translate((prevPos - curPos) * ( Camera.main.farClipPlane - t.position.z) / Camera.main.farClipPlane);
            }
        }
        prevPos = curPos;
    }
}
Since the BLUK game is physics-based, I imagine they don’t use tricks like having the cube stay at the same spot while the rest of the world goes in the opposite direction similarly to other games. Hence, the background objects would have to follow the camera’s direction in a reduced rate, based on their distance from the camera. This is what the script does, provided it is on the camera that has all the background objects as its children.
I hope this first blog post was not too long/boring. I also hope I will keep them coming in a reasonably high rate.
You can find the cool game named BLUK here: BLUK – Android Apps on Google Play
See you in the next one!


