
Moving once again outside the scope of image effects, today I have a very special shader for you. I hope you have heard of the game “Antichamber” at some point in your life. It’s a game that has one purpose: to mess with your mind. And it does so successfully. Probably one of the most famous mind-twisting effects of the game is the one with the cubes that have sides that are seemingly transparent and you can see a different object from each side of the cube. It can be seen in this screenshot of the game:
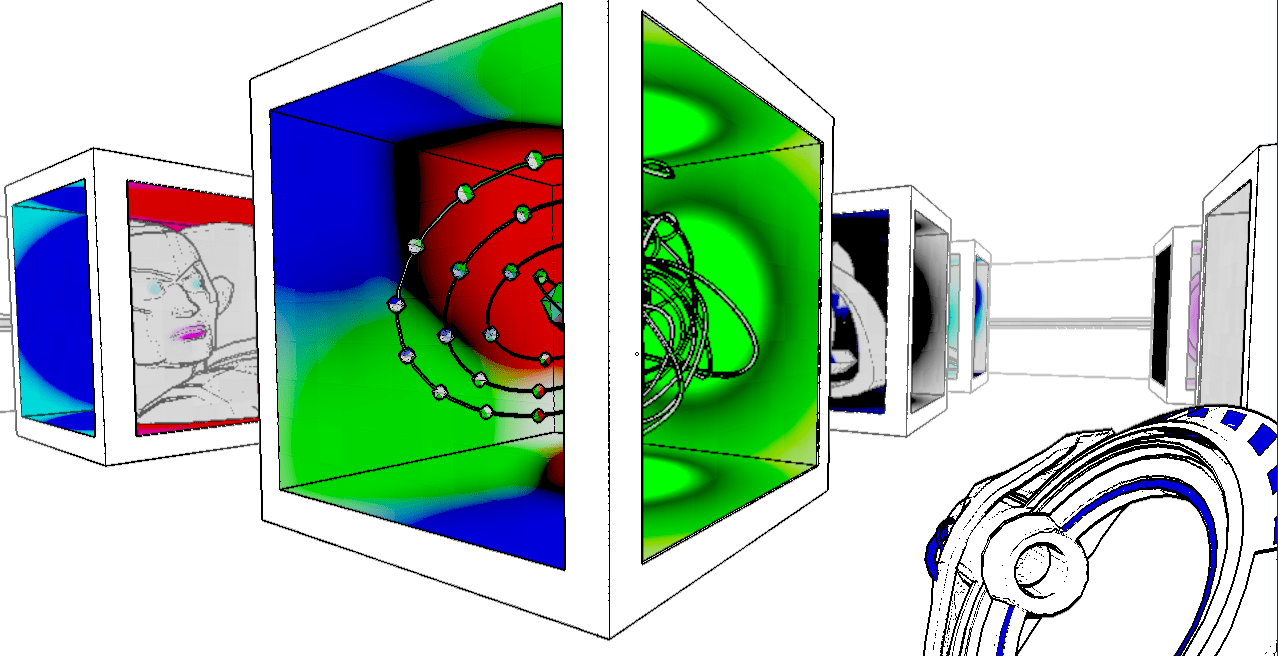
For demonstration purposes I set this scene to make the effect more easily understood:


The pseudo-glass planes are not part of the shader, they are just there to make the faces of the “cube” clear.
I’ll attempt a different approach this time: I will first try and explain the whole concept of how this works before giving out the shader. For this effect there are 2 objects involved: a stencil mask and a stencil object, as I call them at least. The stencil object is the object that’s hidden unless the camera looks through the stencil mask. In the example above, the cube and the sphere are the stencil objects, while the stencil masks are some invisible planes that sit in the exact position of the “glass”planes. If we look through the left plane we see the cube, while if we look through the right plane, we see the sphere.
Let’s get one abstraction level down: shader terminology. The effect is achieved by using the stencil buffer that Unity so graciously gives us. As it says on the stencil buffer documentation, this is a general purpose buffer that we can use to save or discard pixels, and it can be used in many different crazy ways. Its most common use, however is to make effects like the one above, that can be used in SO many cases. Like the grab pass shaders, it can be utilized for really cool effects, where you can see certain objects only through a window for example. And then you can add some grab pass effects on the window and just go nuts.
Now we can move to the shaders. Keep in mind that these shaders are the standard surface shaders with only a few additions for the stencil effect. I will only go through the additions and the weird parts, as the rest just come with Unity.
Stencil Mask
Shader "Custom/Stencil Mask" {
	Properties {
		_Color ("Color", Color) = (1,1,1,1)
		_MainTex ("Albedo (RGB)", 2D) = "white" {}
		_Glossiness ("Smoothness", Range(0,1)) = 0.5
		_Metallic ("Metallic", Range(0,1)) = 0.0
		_RefNumber("Reference number", Int) = 1
	}
	SubShader {
		Tags { "RenderType"="Opaque" "Queue"="Geometry-100" "ForceNoShadowCasting"="True"}
		ColorMask 0
		ZWrite off

		LOD 200

		Stencil {
			Ref [_RefNumber]
			Pass replace
		}

		CGPROGRAM
		// Physically based Standard lighting model, and enable shadows on all light types
		#pragma surface surf Standard fullforwardshadows

		// Use shader model 3.0 target, to get nicer looking lighting
		#pragma target 3.0

		sampler2D _MainTex;

		struct Input {
			float2 uv_MainTex;
		};

		half _Glossiness;
		half _Metallic;
		fixed4 _Color;

		// Add instancing support for this shader. You need to check 'Enable Instancing' on materials that use the shader.
		// See https://docs.unity3d.com/Manual/GPUInstancing.html for more information about instancing.
		// #pragma instancing_options assumeuniformscaling
		UNITY_INSTANCING_CBUFFER_START(Props)
			// put more per-instance properties here
		UNITY_INSTANCING_CBUFFER_END

		void surf (Input IN, inout SurfaceOutputStandard o) {
			// Albedo comes from a texture tinted by color
			fixed4 c = tex2D (_MainTex, IN.uv_MainTex) * _Color;
			o.Albedo = c.rgb;
			// Metallic and smoothness come from slider variables
			o.Metallic = _Metallic;
			o.Smoothness = _Glossiness;
			o.Alpha = c.a;
		}
		ENDCG
	}
	FallBack "Diffuse"
}
First of all, I added a new integer property called “_RefNumber”. The purpose of that number is to use it to match the stencil masks with the stencil objects. If that number in the mask is 1, the stencil objects that will be visible through this mask will also need to have 1 as their reference number. We could hard-code it instead of using a property, but then for every different mask we would need a different shader, but this way we’ll just need a new material. Notice that I don’t have to redeclare the property this time, as we’re not actually inside the CGPROGRAM.
Moving to the weird stuff: the tags. The “RenderType”=”Opaque” tag comes by default in the shader. The “Queue” tag is to make sure that the mask will always be rendered before any geometry. If that were not the case, the stencil objects would be rendered before the mask, and since there wouldn’t be a mask to see through, the objects would remain invisible. As this object serves only as a mask and not really as an object in space, I use the "ForceNoShadowCasting"="True" tag in order to prevent the object from casting a shadow. After the tags, there are 2 more notations: “ColorMask 0” and “ZWrite off”. Those are used to discard the color of the object and to tell the model not to write in the Z buffer.
As you can probably tell, the block named “Stencil” that starts in line 16 is the one that’s responsible for the whole use of the stencil buffer. We only use 2 properties of the stencil buffer here: the “Ref” to use a reference number to match the mask with the stencil object and the “Pass” to tell it what kind of stencil operation to perform. We use “replace” in order write the value of the reference in the buffer.
Stencil Object
Shader "Custom/Stencil Object" {
	Properties {
		_Color ("Color", Color) = (1,1,1,1)
		_MainTex ("Albedo (RGB)", 2D) = "white" {}
		_Glossiness ("Smoothness", Range(0,1)) = 0.5
		_Metallic ("Metallic", Range(0,1)) = 0.0
		_RefNumber("Reference number", Int) = 1
	}
	SubShader {
		Tags { "RenderType"="Opaque" "ForceNoShadowCasting"="True"}
		LOD 200

		Stencil {
			Ref [_RefNumber]
			Comp equal
		}

		CGPROGRAM
		// Physically based Standard lighting model, and enable shadows on all light types
		#pragma surface surf Standard fullforwardshadows

		// Use shader model 3.0 target, to get nicer looking lighting
		#pragma target 3.0

		sampler2D _MainTex;

		struct Input {
			float2 uv_MainTex;
		};

		half _Glossiness;
		half _Metallic;
		fixed4 _Color;

		// Add instancing support for this shader. You need to check 'Enable Instancing' on materials that use the shader.
		// See https://docs.unity3d.com/Manual/GPUInstancing.html for more information about instancing.
		// #pragma instancing_options assumeuniformscaling
		UNITY_INSTANCING_CBUFFER_START(Props)
			// put more per-instance properties here
		UNITY_INSTANCING_CBUFFER_END

		void surf (Input IN, inout SurfaceOutputStandard o) {
			// Albedo comes from a texture tinted by color
			fixed4 c = tex2D (_MainTex, IN.uv_MainTex) * _Color;
			o.Albedo = c.rgb;
			// Metallic and smoothness come from slider variables
			o.Metallic = _Metallic;
			o.Smoothness = _Glossiness;
			o.Alpha = c.a;
		}
		ENDCG
	}
	FallBack "Diffuse"
}
The setup here is really similar. There’s also a “_RefNumber” property here which is used in the same way: to match the object with the mask through which you can see the object. The tags are the same, although we don’t need the “Queue” tag, as the object doesn’t need to have a special order in queue, since it will be rendered with the rest of the geometry. However, I use the "ForceNoShadowCasting"="True"tag once again, the reason being that with this method, the object will be invisible but still drop shadows, which is not really convenient. The big drawback of this simple technique is that this way the object doesn’t cast shadows at all. There probably is a solution, but, to be honest, I haven’t really looked into it. I’d be happy to hear a suggestion from you if you have one though.
We want to keep the color of the object and we also want it to write to the Z buffer, hence I don’t use the notations from the previous shader. The next difference is in the Stencil buffer block. While the “Ref” part is the same, we don’t have a “Pass” tag and, instead, there’s a “Comp” tag. If you check the documentation you’ll see that if there’s no “Pass” operation specified, the default operation will be to keep the contents of the buffer. Those contents are then “sent” to a mask shader that has a reference number that is equal to the number specified in the “Ref” tag. The “Comp equal” tag specifies that the reference numbers must be equal.
Conclusion
I hope I cleared some stuff about how these shaders work, but in the (likely) event that I didn’t it really doesn’t matter! You can use these shaders even without knowing how they work, and you can still achieve some pretty nifty effects! With this kind of techniques, the only limit to what you can achieve is your imagination!
See you in the next one!


