
Still on the subject of displacement, this post is about some different stuff one can do with a displacement image effect. Specifically, the shader I will be demonstrating recreates a wavy displacement effect that changes over time, as you can see in the GIF below:
It’s a very simple effect that may or may not be used in a game in this form, but it can be useful for some water effects for example. I will probably make a post about a 2D water effect at some point in the future.
The shader, the displacement texture I will be using and also most of my knowledge come from the great Dan Moran, who is mostly known for his awesome YouTube channel “Makin’ Stuff Look Good” (formerly known as “Makin’ Stuff Look Good In Unity”). If you’re into shaders he’s the man you should be stalking. His channel is a goldmine of shader knowledge and examples for the coolest effects imaginable. Excuse my excitement, but this guy has really been my inspiration when it comes to shaders. So, show him all your love in his YouTube channel, his twitter and whatever else of his you can find.
Moving past my man-crush, I shall now present the shader:
Shader "Custom/DisplacementImageEffect"
{
    Properties
    {
        _MainTex ("Texture", 2D) = "white" {}
        _DisplTex("Displacement Texture", 2D) = "white" {}
        _DisplAmount("Displacement Amount", Range(0, 0.1)) = 1
    }
    SubShader
    {
        // No culling or depth
        Cull Off ZWrite Off ZTest Always

        Pass
        {
            CGPROGRAM
            #pragma vertex vert
            #pragma fragment frag

            #include "UnityCG.cginc"

            struct appdata
            {
                float4 vertex : POSITION;
                float2 uv : TEXCOORD0;
            };

            struct v2f
            {
                float2 uv : TEXCOORD0;
                float4 vertex : SV_POSITION;
            };

            v2f vert (appdata v)
            {
                v2f o;
                o.vertex = UnityObjectToClipPos(v.vertex);
                o.uv = v.uv;
                return o;
            }

            sampler2D _MainTex;
            sampler2D _DisplTex;
            float _DisplAmount;

            fixed4 frag (v2f i) : SV_Target
            {
                float2 changingUV = i.uv + _Time.x * 2;
                float2 displ = tex2D(_DisplTex, changingUV).xy;
                displ = ((displ * 2) - 1) * _DisplAmount;
                fixed4 col = tex2D(_MainTex, i.uv + displ);
                return col;
            }
            ENDCG
        }
    }
}
This is a standard image effect, as per usual. That means that all the changes and cool stuff are happening in the fragment shader. But first, I have to declare some properties: a texture to use as a guide for the displacement and a float to determine the amount of displacement. Note that this displacement texture is not used as mask like in the previous post. We actually use the colors on the texture to make some interesting displacement patterns. For the example in the featured image and the GIF, the displacement texture used is this:
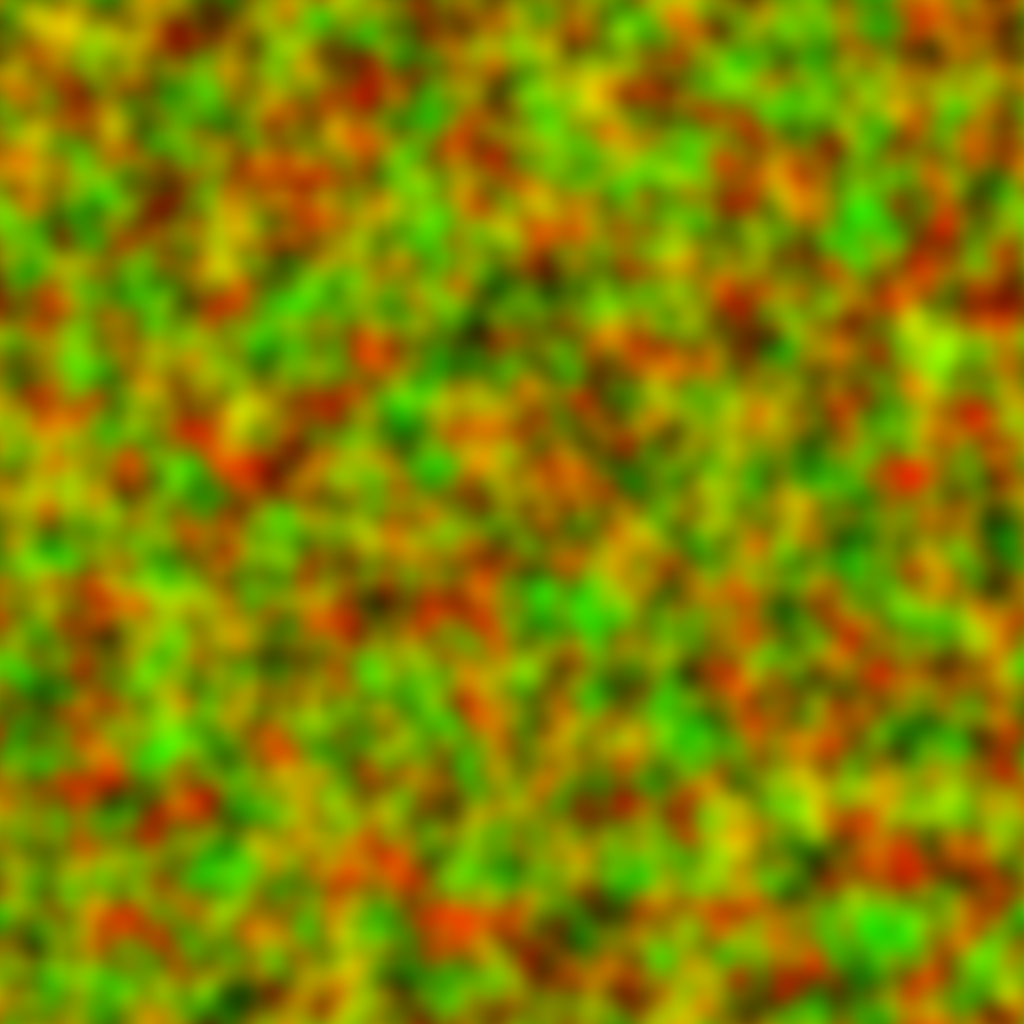
I am well aware that this texture looks like the aftermath of the Great Leprechaun Wars as viewed by a broken satellite, but it actually contributes a lot to the effect shown above.
As always, I redeclare the 2 new properties inside the shader and now we move on to the fragment shader! Things look different already from the first line of the shader, in line 48. I store in a float2 variable the UV coordinates of the screen to which I have added “_Time.x * 2”. That’s weird, I don’t remember declaring a vector named “_Time”. I must be losing my mind! A dark spiral of endless void is consuming my every thought and my hands do not obey my brain, writing uses for variables never declared before! Or it’s just a built-in value from Unity. Which it is. “_Time” is a built-in float4 that has this form: Time (t/20, t, t*2, t*3), where t is a value that increases over time, making it possible to animate things inside an editor. This on its own is really, really cool. The applications are left for the reader to imagine. So, to sum up, in “changingUV” I keep the UV coordinates of the screen to which I add the _Time.x parameter to make them shift over time.
Using these UV coordinates, I get just the red and green channel of the displacement texture and store them in a float2 variable. Therefore, as time passes, the displacement texture will have a constantly shifting offset. I just take the red and green channels as the whole concept of this technique is that the red values of the texture dictate the amount of displacement that happens on the x axis, while the green values dictate the amount of displacement that happens on th y axis. So, since those are color values, the “displ” vector holds two values (x and y) that range from 0 to 1. However, in order to have displacement that happens from left to right and from top to bottom we need those values to range from -1 to 1. Hence the calculation in line 50. Its purpose is to translate the values from [0,1] to [-1,1] and to also multiply them with the displacement amount that is determined by our property.
After all of that, we just take the screen’s color as usual and we add our “displ” vector to the UV coordinates in order to displace them. And that’s about it!
You can find more info about this effect in the original video of Dan that you can find here. Checking all of his stuff too will really help you or at least inspire you.
See you in the next one!


