I’m sure you’ve all been waiting for something new and different for me to talk about. All three of you (Hi, mom!). However, in this post I am not going to introduce anything new. Instead, I will combine some of the techniques discussed in previous posts to create an actual useful effect, for once. This effect will be a shockwave, which can be used mostly for 2D purposes, to add another layer of game feel to your project. An effect like that can be found in a wide variety of games, like the death animation of “Move or Die” or on some slamming boss moves in “Binding of Isaac”. And I’m gonna show you how to connect the puzzle pieces to make it.
First of all I should mention that the two techniques that I combine are discussed in these two posts:
When you see the shader you will also realize that this whole post is me somewhat “cheating”, as it’s literally just a mash up of the two shaders of the aforementioned posts. But I have no shame and you can judge me all you want, I wrote my post for the week. And now here’s the code:
Shader "Custom/ShockWave" { Properties { _MainTex ("Texture", 2D) = "white" {} _Radius("Radius", float) = 1.0 _Thickness("Thickness", float) = 0.5 _CenterX("CenterX", float) = 0.5 _CenterY("CenterY", float) = 0.5 _SizeX("SizeX", float) = 1 _SizeY("SizeY", float) = 1 _Hardness("Harndess", float) = 1.0 _Invert("Invert", Range(-1.0, 1.0)) = 0 _DisplacementAmount("Displacement amount", float) = 0 } SubShader { // No culling or depth Cull Off ZWrite Off ZTest Always Pass { CGPROGRAM #pragma vertex vert #pragma fragment frag #include "UnityCG.cginc" struct appdata { float4 vertex : POSITION; float2 uv : TEXCOORD0; }; struct v2f { float2 uv : TEXCOORD0; float4 vertex : SV_POSITION; }; v2f vert (appdata v) { v2f o; o.vertex = UnityObjectToClipPos(v.vertex); o.uv = v.uv; return o; } sampler2D _MainTex; float _Radius; float _Hardness; float _CenterX; float _CenterY; float _SizeX; float _SizeY; float _Invert; float _Thickness; float _DisplacementAmount; fixed4 frag (v2f i) : SV_Target { fixed4 c = tex2D(_MainTex, i.uv); float dist = length(float2(i.uv.x - _CenterX, i.uv.y - _CenterY) * float2(_SizeX, _SizeY)); float rd = _Thickness/2; float rc = _Radius - rd; float circle = saturate(abs(dist - rc) / _Thickness); float circleAlpha = pow(circle, pow(_Hardness, 2)); float a = (_Invert > 0) ? circleAlpha * _Invert : (1 - circleAlpha) * (-_Invert); half mask = a; float2 displ_uv = i.uv + mask * _DisplacementAmount; half4 distortedCol = tex2D(_MainTex, displ_uv); return distortedCol; } ENDCG } } }The shader
Since most of this stuff is known, I will just focus on the way the two shaders are combined. As you can see, I have conveniently separated all the new parts that I added to the ring mask shader. The only property that I added was the “_DisplacementAmount” which I redeclared at line 60. Since I don’t want my mask to appear on the whole screen this time, in line 71 I renamed the color of the mask from “col” to “mask”, since that makes more sense.
In case you don’t remember, in the “simple displacement” shader we used a grayscale texture as a mask to distort specific parts of the screen. Now, instead of that texture we have our own custom mask. Hence, we don’t need to call “tex2D” to get the color of some black and white texture; we have those values stored in the “mask” field. In the same manner as the “simple displacement” shader, we modify the UV coordinates based on our mask and using the “_DisplacementAmount” property to modify the intensity of the effect. After that, we just use “tex2D” to get the screen color with the distorted UV coordinates, that gives us this nicely distorted look.
Triggering the shockwave
Our effect is not really usable like that, we need a way to change the center and radius of the shockwave via code to trigger it whenever we want. So here’s a small little script that helps with that:
using System.Collections; using System.Collections.Generic; using UnityEngine; public class TriggerShockwave : MonoBehaviour { public Material shockWaveMaterial; void Start() { shockWaveMaterial.SetFloat("_Radius", -0.2f); } void Update () { if (Input.GetButtonDown ("Fire1")) { Vector2 screenPos = new Vector2 (Input.mousePosition.x / Screen.width, Input.mousePosition.y / Screen.height); shockWaveMaterial.SetFloat ("_CenterX", screenPos.x); shockWaveMaterial.SetFloat ("_CenterY", screenPos.y); StopAllCoroutines(); StartCoroutine(ShockWaveEffect()); } } IEnumerator ShockWaveEffect () { float tParam = 0; float waveRadius; while (tParam < 1) { tParam += Time.deltaTime * 2; waveRadius = Mathf.Lerp(-0.2f, 2, tParam); shockWaveMaterial.SetFloat("_Radius", waveRadius); yield return null; } } }Let’s also go through this script so that I can say that I wrote a decent post today. What this script does is triggering a shockwave that increases it’s radius over time when the the left click is pressed. The shockwave uses the position of the mouse as it’s center, and modifies the value of its radius using a coroutine. So, first of all, I needed a reference to the shockwave material in order to modify the values for the center and radius of the shockwave. In the “Start” method I set the radius of the wave to -0.2, which is kind of arbitrary, but it’s a value at which the wave is completely invisible, which was what I wanted.
In the “Update” method, I’m checking if the left mouse button was pressed and, if so, I get the position of the mouse in screen coordinates. “Input.mousePosition” returns a position in pixel coordinates, so in a 1080p resolution it would return values from (0, 0) to (1920, 1080). However, the shader uses values from (0.0,0.0) to (1.0,1.0), hence the division with the screen.width and screen.height. After I set the properties of the shader for the center of the wave, I start the coroutine that gives motion to the shockwave. I first have to stop all the coroutines in order to have the coroutine always play from the start and not have multiple coroutines running at the same time.
In the “ShockWaveEffect” coroutine, all I do is execute a lerp function to interpolate the radius value from -0.2f to 2, which is again an arbitrary value in which the shockwave is larger than the screen and, thus, no more visible on the screen.
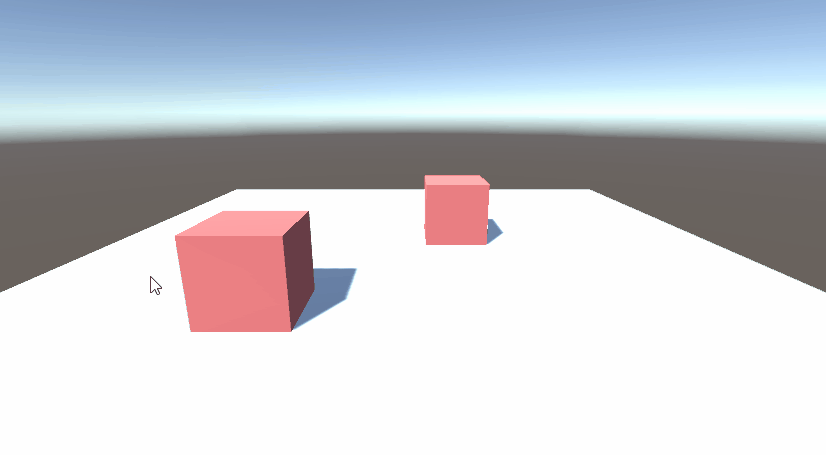
The result can be seen below:
I know it seems really boring like that, but add some screenshake, chromatic aberration and some other effects, and you will have some really nice feedback effects for your game!
And that’s it for now! See you in the next one!